
Table of Contents
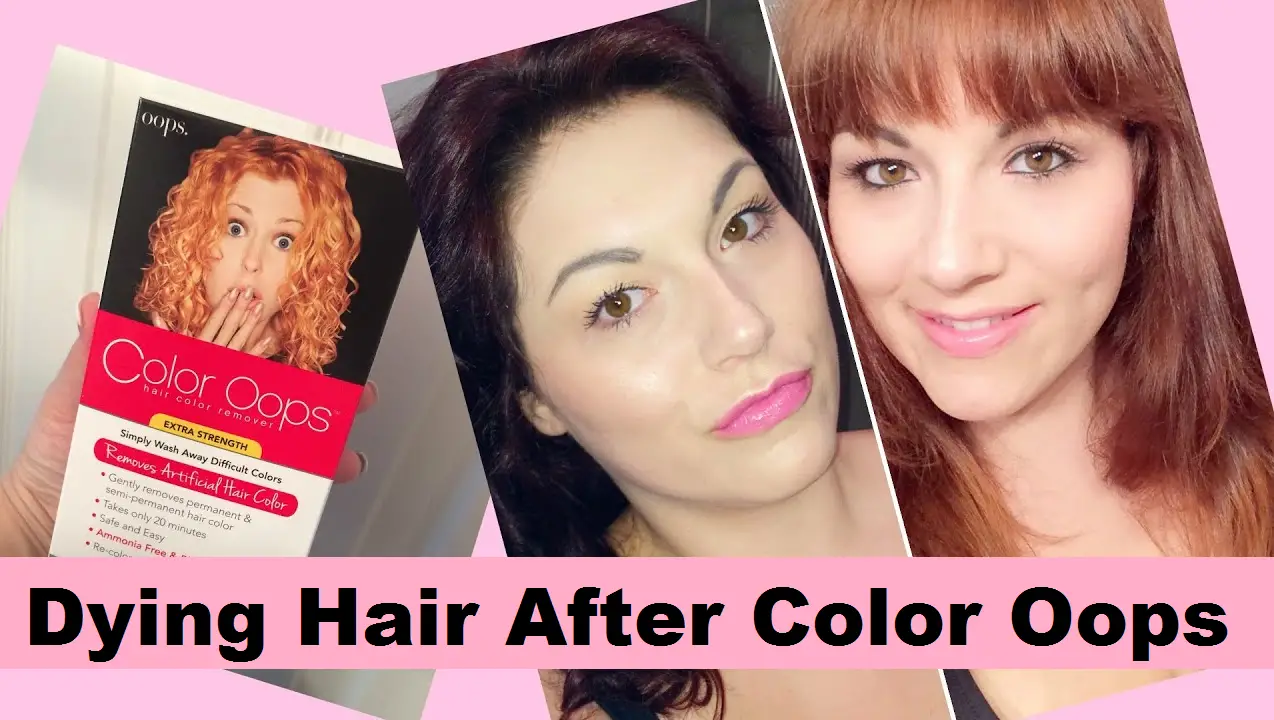
Embarking on the journey of revitalizing your hair color after Color Oops mishap? Look no further! Our comprehensive guide, “Dying Hair After Color Oops,” is here to lead you through the twists and turns of correcting your hair’s hue.
Whether you’ve encountered unexpected tints, patchy results, or the dreaded brassy tones, we’ve got your back. Join us as we delve into the art of hair transformation, step by step, ensuring you’re armed with the know-how to make your hair-color comeback a stunning success. Let’s bid adieu to hair color mishaps and embrace a vibrant, confident you!
Why people consider dying hair after color Oops?
- Unexpected Tints: You were aiming for that ravishing raven-black look, but ended up with a hint of eggplant – oops indeed!
- Patchwork Picasso: Some parts of your hair decided to play along, while others stayed loyal to the previous color. Hello, Picasso-inspired locks!
- Brassy Blunders: Oh, the joys of battling brassy tones that decided to gatecrash your color party – now you’re in a showdown with orange.
- Color Commitment Crisis: That vivid teal seemed like a great idea at the time, but commitment-phobia set in faster than you could say “hair disaster.”
- Fickle Fade-outs: You hoped for a clean slate, but your old color played hard to get. Now you’re stuck between shades, and not in a fashionable way.
Hold onto your hairpins, folks, because sometimes the enchanted transformation doesn’t quite go as planned. But fear not, fellow color explorers, because this guide is your passport to color redemption.
Steps to successful hair color correction
- Take a Break: After using Color Oops, give your hair a break before doing anything else. It needs time to rest and recover.
- Nourish Your Hair: Show your hair some love by giving it a deep conditioning treatment, like a spa day. This will help it feel better and healthier.
- Be Patient: Wait for a while before you try dyeing your hair again. Impatiently rushing into it won’t give you the best results.
- Test a Strand: Before you start dyeing your whole head, test a small section of hair to see if it’s ready for the new color.
- Get Ready: Gather all the things you need, like gloves and brushes, just like an artist getting everything ready before they start painting.
Hold tight, as we journey through the twists and turns of dyeing your hair after the Color Oops fiasco. Remember, just like a suspenseful novel, the climax is yet to come!
Understanding Color Oops and Its Effects
Curious about Color Oops and what it does to your hair? Let’s dive in and uncover the science!
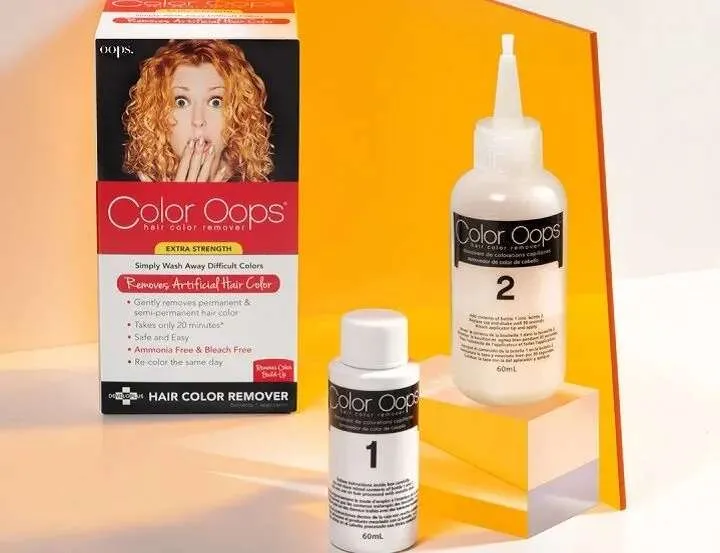
How Color Oops Removes Hair Color?
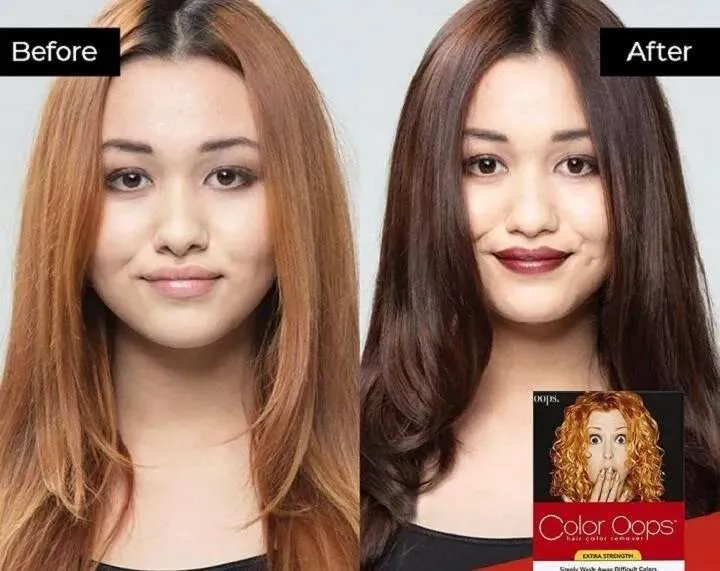
Think of Color Oops as a clever magician for your hair. It works by breaking down the color in your hair, like erasing a picture. The color molecules get unstuck, so your previous hair color fades away, making room for a fresh start.
Potential Side Effects of Using Color Oops
- Dryness and Frizz: Color Oops might leave your hair feeling a bit parched, like a desert without water.
- Color Variation: Your hair might not turn out perfectly even – some areas could be lighter or darker than others.
- Straw-like Texture: Your hair might temporarily feel like straw, losing some of its natural softness.
- Unpredictable Tones: Be ready for surprises – your hair might take on unexpected tones, like oranges or yellows.
- Fading Fast: Color Oops can speed up the fading process of your new color, leading to quicker touch-ups.
Factors Influencing the Outcome
- Original Hair Color: Your starting point matters. If your hair was dark, the outcome might differ from lighter hair.
- Dye Type: Different dyes react differently with Color Oops. Some might vanish easily, while others resist the change.
- Application Technique: How you apply Color Oops matters. Uneven application could lead to uneven results.
Remember, understanding Color Oops and its effects is like peeking behind the curtain of a magic show – it helps you master the tricks for a stunning outcome.
Read more: 10 Color Oops Reviews and Experiences: Is Color Oops the Best Hair Color Remover?
Preparing Your Hair for the Next Color Treatment
Assessing Your Hair’s Post-Color Oops Condition
Imagine your hair as a detective’s magnifying glass. Check for dryness, brittleness, and overall health. If your hair is feeling like a crispy snack, it needs some extra love before the next color adventure.
Nourishing Treats for Your Tresses
- Deep Conditioning: Spoil your hair with a deep conditioner – it’s like giving it a cozy blanket.
- Hair Masks: Treat your strands to a pampering hair mask, as if they’re having a spa day.
- Leave-In Conditioner: A leave-in conditioner is your hair’s best friend, keeping it hydrated all day.
- Coconut Oil Massage: Coconut oil is a superhero! Massage it into your hair to add a dose of nourishment.
- Protein Treatments: Strengthen your hair with protein treatments, like a workout for your locks.
How long to wait before applying new hair dye
Just like you need a breather after a workout, your hair needs a timeout too. Wait at least a week after Color Oops before you dive into the next coloring session. Patience is your secret weapon here.
Conducting a strand test
Before you fully commit to a new color, be a scientist and test a small strand. Mix a bit of the new dye and apply it to a section of hair. This mini-experiment tells you if your hair is ready for the big transformation or needs more time to recover.
Choosing the Right Hair Dye
Grasping Hair Porosity’s Significance
Think of hair like a sponge – some soak up water quickly, while others take their time. Hair porosity is how much your hair absorbs color. If your hair is like a fast-drinking sponge, it’ll embrace dye easily. If it’s more of a sipper, you might need some extra tricks.
How to Select a hair dye brand and shade that aligns with your goals?
- Dye Types: Choose between permanent, semi-permanent, or temporary dyes. Permanent is like a long-term commitment, semi-permanent is a fling, and temporary is a fun weekend.
- Shade Selection: Your hair’s natural color and your desired outcome are key. If you’re a brunette dreaming of blonde, be ready for a journey – it’s like climbing a hair-color mountain.
Ingredient Investigation: Minimizing Reactions
Inspect the ingredients like you’re reading a secret recipe. Look for words like “ammonia-free” and “gentle formula.” This helps lower the chances of your scalp throwing a tantrum. Patch test new dye on your skin before the main event to be extra safe.
I apologize for any confusion. Let’s delve into more detailed explanations for each point:
Correcting Undesirable Color Outcomes
Dealing with Brassy or Orange Tones After Color Oops
Brassy or orange tones crashing your hair party post-Color Oops? No worries, we’ve got your rescue plan ready. These unwanted warm tones can be tamed with a toner. Picture a toner as your hair’s personal superhero – it swoops in to neutralize those unwanted hues.
Here’s the game plan:
- Choose the Opposite: Look at the color wheel. Find the shade that’s opposite to brassy or orange. This is your toner’s sidekick – the one that’ll knock those tones out of the park.
- Application Magic: Mix your toner according to the instructions. Apply it to the affected areas and let it work its charm. Time for a mini hair makeover!
- Wait and Rinse: Give the toner some time to work its color-correcting magic. Then rinse it out, revealing a more balanced, toned-down look.
Addressing Uneven Color Removal and Remaining Patches
If your hair is playing a patchwork game after Color Oops, it’s time to bring out the strategic touch-up moves. Here’s your playbook:
- Semi-Permanent Savior: Get yourself a semi-permanent hair dye that matches your natural shade. This dye is your secret weapon for targeted touch-ups.
- Spot Treatment: Apply the dye specifically to the uneven or patchy areas. Imagine you’re an artist carefully adding color to a canvas.
- Evenness Achieved: As you rinse out the dye, you’ll notice the color harmony being restored. Those pesky patches will blend in like they were never there.
Correcting Overly Lightened or Darkened Hair
Oops, your hair decided to go a shade too far, whether too light or too dark. Let’s bring back that balance:
- Shade Selection: For hair that’s become too light, opt for a semi-permanent dye that’s slightly darker than your desired color. It’s like adding a touch of depth to your canvas.
- For the Dark Side: If your hair ventured into the realm of darkness, choose a semi-permanent shade that’s slightly lighter. Think of it as a gentle lift for your color.
Remember, our hair journey is all about finding the right shades and tones that make you feel fabulous. Keep these color-correction strategies in your back pocket for your next hair adventure. More expert tips await you in our blog – stay tuned and keep embracing those vibrant vibes! ??♀️
Step-by-Step Process: Dying Hair After Color Oops
Gathering Your Color Arsenal
Before your hair transformation masterpiece, gather your tools like a pro. Here’s your checklist:
- Protective gloves
- Applicator brush or bottle
- Hair dye (your chosen shade)
- Old shirt or towel (in case of drips)
- Timer or phone stopwatch
Mixing and Preparing the Dye
- Follow the instructions on the hair dye box – they’re like your color map.
- Mix the dye and developer as directed. Think of it as creating your magical potion.
- Make sure your mix is smooth like melted chocolate – no lumps allowed.
Mastering Application Techniques
- Root-to-Tip Magic: Start at your roots, where your hair’s natural heat helps the color develop faster. Work your way down to your ends, like a color cascade.
- Sectioning Sorcery: Divide your hair into sections. It’s like painting on a canvas – each section gets its own dose of color love.
- Even Distribution Charm: As you apply the dye, make sure it’s spread evenly. No uneven patches – just a seamless color hug.
Time to Let the Magic Happen
After you’ve worked your color wizardry, it’s time to let the dye do its thing:
- Check the hair dye box for the recommended processing time. This is when the color transforms and settles in.
- Set a timer or use your phone stopwatch – make sure you’re on point.
- Use this time to kick back, scroll through your favorite app, or enjoy a mini spa moment.
Remember, each step is like a stroke of a brush on your hair canvas. Follow these steps, and you’ll be rocking that new color like a true hair artist. More adventures await in our blog – keep those brushes ready! ??♀️
Aftercare and Maintenance: Keeping Your Color Radiant
The Rinse and Shampoo Dance
- Cool Rinse: After the dyeing magic, rinse your hair with cool water. It’s like a refreshing wake-up call for your color.
- Gentle Shampooing: Use a sulfate-free, color-safe shampoo. Massage it gently – your hair’s been through a lot.
The Power of Color-Safe and Sulfate-Free
- Color Shield: These products act like knights guarding your color castle. They help your hue stay vibrant and true.
- Gentle Cleansing: Sulfate-free means a milder cleanse. It’s like a spa day for your hair – no harsh stripping here.
- Say No to Fading: Color-safe formulas keep your shade from bidding an early adieu.
- Healthy Locks: They’re kinder to your hair, keeping it healthy and shiny, rather than dry and dull.
- A Little Goes a Long Way: You’ll use less product, and your color will thank you with long-lasting brilliance.
Regular Conditioning Rituals
- Weekly TLC: Treat your hair to a weekly deep conditioner. It’s like a cozy blanket, keeping your color snug and vibrant.
- Three-Minute Magic: Use a color-protecting conditioner each time you shampoo. Leave it in for a few minutes – it’s a quick color boost.
Touch-Up Tactics and Taming Frequent Dyeing
- Scheduled Touch-Ups: Plan touch-up sessions based on your hair’s growth. Keep your roots in check, and your color will thank you.
- Mindful Gap: Minimize frequent dyeing – give your hair a break between color adventures. It’s like hitting reset for vibrant, long-lasting color.
Nurture your color like a blooming garden. With these aftercare steps, you’re on the path to maintaining your radiant new hue. Stay tuned for more hair wisdom in our blog – your color journey is an ongoing masterpiece! ??
DIY vs. Professional Help: Making the Right Choice for Your Hair
Weighing the DIY Hair Color Correction Pros and Cons
| DIY Hair Color Correction | Professional Hair Colorist |
|---|---|
| Pros | Pros |
| Cost-effective | Expertise and experience |
| Convenience and privacy | Customized, professional results |
| Experimenting at your own pace | Professional-grade products |
| Cons | Cons |
| Risk of color mishaps | Higher cost |
| Limited professional guidance | Scheduling constraints |
| May lead to further damage | Less privacy |
Embracing the Benefits of a Professional Colorist
- Expertise: Colorists are like artists – they understand hues, tones, and your hair’s unique canvas.
- Tailored Solutions: They’ll create a custom plan to correct your color woes and achieve your dream shade.
- Professional Products: Colorists have access to high-quality products that deliver stunning, long-lasting results.
- Damage Control: They know how to work with damaged hair, minimizing harm and maximizing the gorgeousness.
Influential Factors in Your Decision
| Factors | DIY | Professional |
|---|---|---|
| Budget | Affordable | Higher cost |
| Complexity | Best for minor issues | Expertise for major changes |
| Desired Outcome | Experimentation | Precise, planned results |
Making the decision between DIY and professional help depends on these factors. If you’re up for a DIY adventure and your color concern is minor, grab those gloves. For major changes or a flawless finish, a colorist’s expertise is your magic wand.
Remember, your hair journey is unique. Whether you’re a DIY explorer or seeking the hands of a skilled colorist, the goal is the same – achieving vibrant, stunning hair that’s a true reflection of you. Stay tuned for more hair insights in our blog – your color transformation story is unfolding! ??♀️
A Colorful Transformation Awaits
Dying Hair After Color Oops: In the world of hair color, patience, preparation, and aftercare pave the path to stunning results. Your canvas, your hair, is ready for your artistic touch. Share your journey, seek guidance, and embrace the vibrant tapestry of transformations. With these insights, you’re equipped to craft a radiant hair story that reflects your spirit. Stay tuned for more revelations – your hair’s evolution is an ongoing masterpiece! ??♀️