
Table of Contents
In the world of hair fashion, the desire for vibrant and personalized looks is ever-present. If you’ve been yearning for a change and want to experiment with a new hair color, why not take matters into your own hands?
With the right knowledge and techniques, you can confidently dye your hair at home, transforming your look and expressing your unique style.
In this comprehensive guide, we’ll walk you through the step-by-step process of how to dye your hair at home by yourself, empowering you to become your own personal hair colorist.
Understanding the Basics of Hair Dyeing

The Benefits of DIY Hair Coloring
When it comes to hair coloring, the option to dye your hair at home offers numerous advantages. First and foremost, it provides you with the freedom to experiment and explore various shades and styles without breaking the bank.
Dye your hair at home by yourself also allows for convenience and flexibility, as you can choose the timing and location that suits you best. Moreover, it empowers you to take control of your personal style, fostering a sense of self-expression and individuality.
You may also read: Brew Up a New Look: How to Dye Hair With Coffee
Here are some additional benefits of DIY hair coloring:
Cost-Effective:
Dye your hair at home by yourself is generally more affordable than visiting a professional salon. Hair salon appointments can be expensive, especially for frequent touch-ups or color changes. With DIY hair coloring, you can achieve salon-quality results at a fraction of the cost.
Privacy and Comfort:
Some people prefer the privacy and comfort of their own homes when it comes to hair coloring. Dye your hair at home by yourself allows you to avoid the potential judgment or discomfort that may come with a public salon setting. You can relax in familiar surroundings and take your time without feeling rushed.
Learning Experience:
Dyeing your hair at home can be a learning experience that helps you better understand your hair. You can experiment with different techniques, products, and color combinations, gaining valuable knowledge about what works best for your unique hair type and texture.
Customization and Personalization:
DIY hair coloring allows for complete customization. You can choose from a wide range of colors, mix shades to create your own unique hue, or even try out trendy techniques like ombre or balayage.
This level of personalization empowers you to create a look that reflects your individuality and style.
Sense of Accomplishment:
Successfully dye your hair at home by yourself can be a confidence booster. The feeling of accomplishing a new look entirely on your own can be incredibly satisfying. It gives you a sense of empowerment and a greater connection to your personal style journey.
Ongoing Maintenance:
When you dye your hair at home, you have the knowledge and skills to maintain your color over time. This includes touch-ups, color refreshes, and exploring new color variations. By mastering DIY hair coloring, you can continuously update and evolve your hair color as desired.
Choosing the Right Hair Color for You
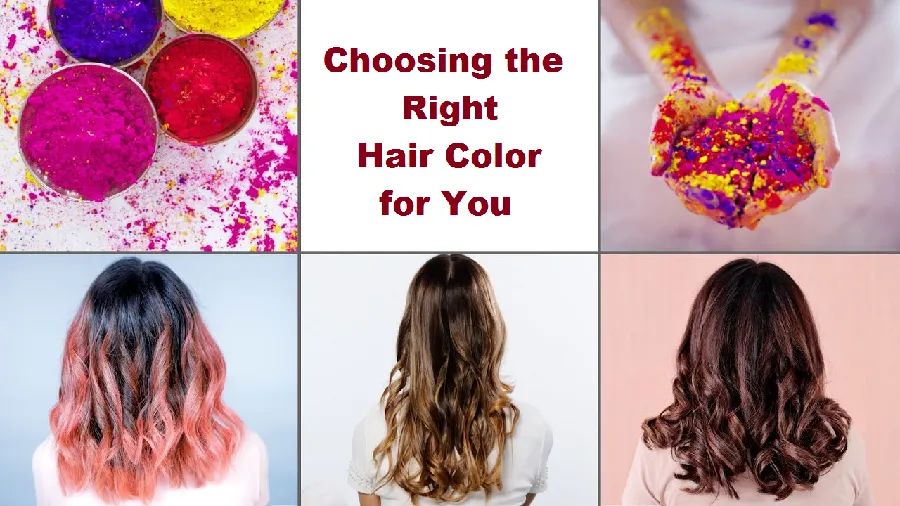
Before diving into the hair dyeing process, it’s essential to select a color that complements your skin tone, features, and personal preferences. Consider factors such as your undertones, natural hair color, and the look you want to achieve.
Warm tones like reds, coppers, and golden blondes work well for individuals with warm undertones, while cool undertones pair nicely with ashy blondes, cool browns, and platinum shades.
Research different color charts and consult with professionals if needed to ensure you choose a hue that suits you best.
Here’s a simplified chart to help you choose the right hair color based on your skin tone:
| Skin Tone | Undertones | Suitable Hair Colors |
|---|---|---|
| Fair/Pale | Cool | Platinum blonde, ash blonde, light ash brown, cool light brown, cool light red |
| Fair/Pale | Warm | Golden blonde, strawberry blonde, honey blonde, light golden brown, warm light brown |
| Medium | Cool | Light ash brown, cool medium brown, cool dark brown, cool dark red |
| Medium | Warm | Caramel blonde, golden brown, warm medium brown, warm dark brown, auburn |
| Olive | Cool | Dark ash brown, dark cool brown, burgundy, cool dark red |
| Olive | Warm | Chestnut brown, warm dark brown, warm dark red, mahogany |
| Dark/Deep | Cool | Ebony black, cool dark brown, dark plum, cool dark red |
| Dark/Deep | Warm | Dark brown, warm dark brown, warm dark red, dark caramel |
Remember that this chart serves as a general guideline, and personal preferences play a significant role in choosing a hair color.
It’s always a good idea to consult with a professional hair colorist for personalized advice and recommendations based on your specific features and desired outcome.
They can analyze your skin tone, undertones, and natural hair color more accurately to suggest the most flattering hair color options for you.
You may also read: Is my hair black or brown? (Answered)
Preparing Your Hair for the Dyeing Process
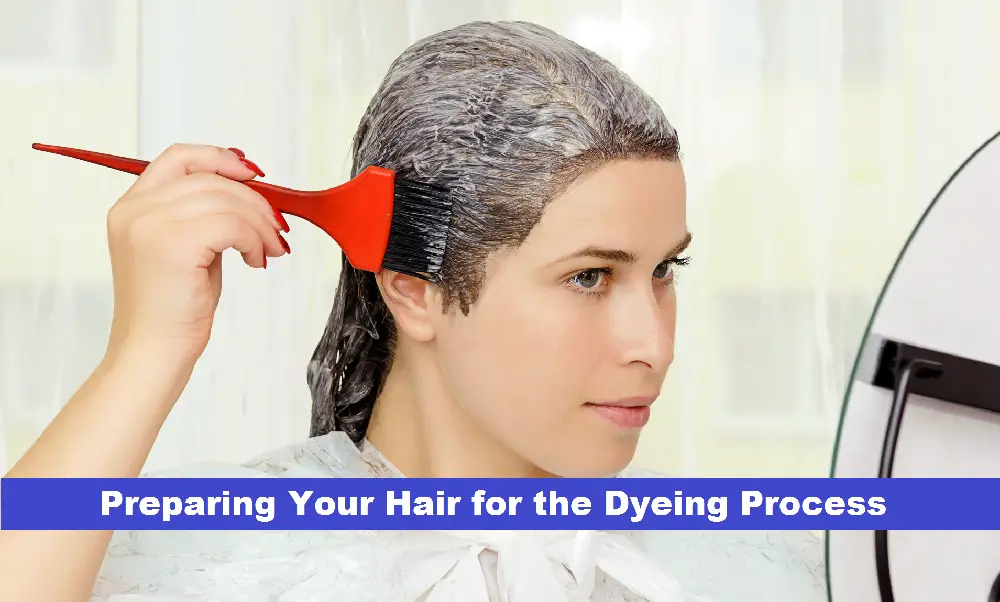
Proper preparation is key to achieving optimal results when dye your hair at home by yourself. Here are some essential steps to prepare your hair for the dyeing process:
Clarify your hair:
Start by clarifying your hair with a clarifying shampoo. This helps remove any product buildup, oils, or impurities that could affect the hair dye’s performance or result in uneven color absorption. Make sure to thoroughly rinse out the clarifying shampoo.
Avoid conditioning:
Prior to the dyeing process, avoid using conditioner or any leave-in products that may create a barrier on your hair. Conditioners can coat the hair strands and hinder the hair dye from fully penetrating and adhering to the hair. It’s best to have clean, product-free hair for optimal color results.
Perform a strand test:
If you’re trying out a new hair dye or shade, it’s recommended to perform a strand test before applying the color to your entire head. Choose a small section of hair, preferably from a less visible area, and apply the dye according to the instructions. This test will help you preview the color outcome and determine the processing time needed for your desired results.
Protect your skin and clothing:
Apply a thin layer of petroleum jelly or a barrier cream along your hairline, forehead, ears, and neck to prevent the dye from staining your skin. It’s also a good idea to wear an old shirt or use a hair dye cape or towel to protect your clothing from potential stains.
Read and follow the instructions:
Each hair dye product may have specific instructions and mixing ratios. It’s crucial to read and understand these instructions thoroughly before proceeding. Following the instructions accurately will ensure the best results and help avoid any mishaps.
You may also read: 10 Color Oops Tips And Tricks That You Won’t Find Anywhere Else
Essential Tools and Supplies
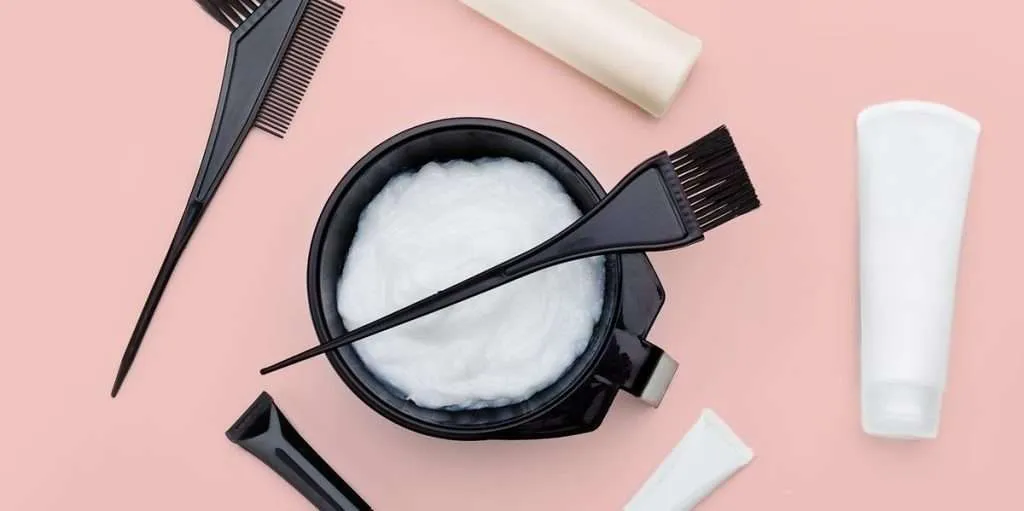
Gathering the Necessary Tools
To successfully dye your hair at home, you’ll need a few essential tools. These include a mixing bowl, a tinting brush or applicator bottle, gloves to protect your hands, clips to section your hair, and a cape or old towel to prevent staining your clothes or surroundings.
Selecting the Perfect Hair Dye Product
Choosing the right hair dye product is crucial for achieving desired results. Consider factors such as the brand’s reputation, the type of hair dye (permanent, semi-permanent, or temporary), and the shade range available. Read reviews, check for user-friendly application instructions, and ensure the product is suitable for your hair type and condition.
Additional Supplies for a Successful Hair Dyeing Experience
In addition to the basic tools, there are a few extra supplies that can enhance your hair dyeing experience. These may include petroleum jelly to protect your skin from staining, a hair color remover for correcting mistakes, a wide-toothed comb for even distribution, and a timer to keep track of processing time. Having these supplies on hand will make the process smoother and more enjoyable.
Step-by-Step Guide to Dyeing Your Hair at Home

Performing a Patch Test
Before applying hair dye to your entire head, it’s crucial to perform a patch test. This test helps determine whether you have any allergic reactions or sensitivities to the hair dye.
Apply a small amount of the prepared hair dye mixture behind your ear or on your inner arm and leave it for the recommended time. If any adverse reactions occur, such as redness, itching, or swelling, refrain from proceeding with the hair dyeing process.
Sectioning and Preparing Your Hair
To ensure even application, divide your hair into manageable sections using clips. This step will help you have better control over the dyeing process. Additionally, protect your forehead, ears, and neck from potential staining by applying a thin layer of petroleum jelly along the hairline.
Applying the Hair Dye with Finesse
Now comes the exciting part— applying the hair dye!
- Prepare the dye mixture according to the instructions provided by the manufacturer.
- Follow the recommended ratio of dye and developer and mix them thoroughly in a bowl.
- Using a tinting brush or applicator bottle, start applying the dye from the roots, working your way to the ends.
- Be meticulous and ensure each section is thoroughly coated.
- Massage the dye into your hair gently to ensure maximum coverage.
Ensuring Proper Processing Time
- The processing time of your hair dye is crucial for achieving the desired color intensity.
- Refer to the instructions provided with your hair dye product to determine the ideal processing time.
- Use a timer to keep track and avoid leaving the dye on for too long, as this may result in over-processing or damage to your hair.
- Remember, different hair types and colors may require varying processing times, so follow the instructions closely.
Rinsing and Post-Dye Care Tips
Once the processing time is complete, it’s time to rinse out the hair dye:
- Thoroughly rinse your hair with lukewarm water until the water runs clear.
- Avoid using hot water, as this can strip the color and cause unnecessary dryness.
- After rinsing, apply a color-safe conditioner to restore moisture and lock in the color.
- Follow any additional post-dye care instructions provided by the hair dye product for optimal results.
Hairdressers Guide To Coloring Your Own Hair And Not Ruining It
Troubleshooting and Avoiding Common Mistakes
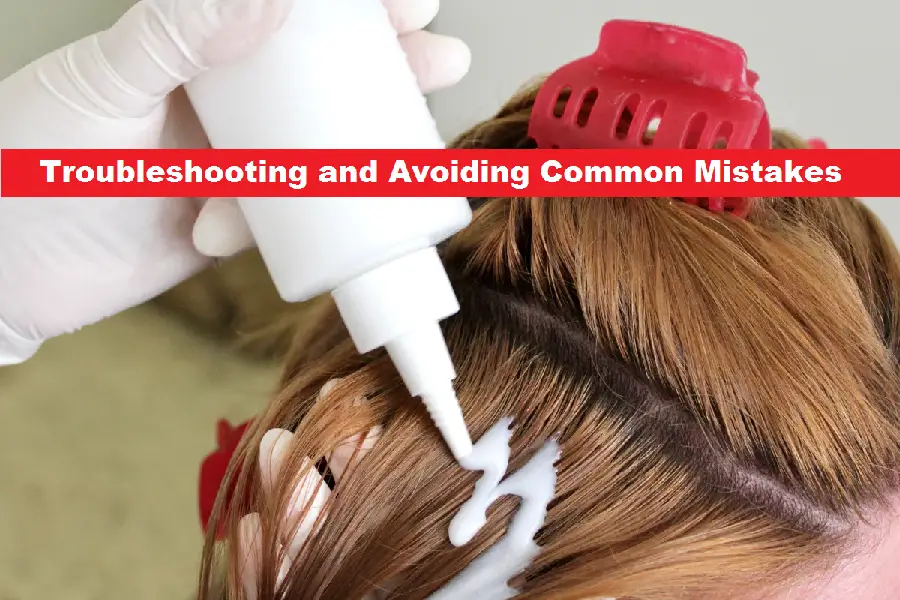
Dealing with Uneven Color Distribution
If you encounter uneven color distribution after dyeing your hair, don’t panic. There are solutions to fix this issue:
- One option is to apply a color corrector or toner to balance out the uneven tones.
- Alternatively, you can seek professional assistance from a hair colorist who can provide expert advice and perform corrective measures.
Fixing Overly Dark or Light Results
- In the case of overly dark results, you can try fading the color by washing your hair frequently with a clarifying shampoo or a color-removing product.
- For excessively light results, toning your hair with a semi-permanent dye in the desired shade can help achieve the desired balance.
- If the issue persists or if you’re unsure about the best course of action, consult with a professional hair colorist.
Addressing Allergic Reactions and Sensitivities
- If you experience an allergic reaction or sensitivity to the hair dye, it’s important to take immediate action.
- Wash your hair thoroughly with mild shampoo to remove the dye and alleviate any discomfort.
- Applying a cold compress or using over-the-counter antihistamines can help relieve symptoms.
- If the reaction is severe or persists, seek medical attention promptly.
Preemptive Measures to Prevent Dyeing Disasters
To prevent potential dyeing disasters, it’s essential to take some precautionary measures:
- Always read and follow the instructions provided by the hair dye product.
- Conduct a strand test and patch test before applying the dye to your entire head.
- Protect your skin, clothing, and surroundings with petroleum jelly, old towels, or capes.
- Lastly, consider having a trusted friend or family member assist you during the dyeing process to ensure better coverage and accuracy.
Maintaining and Refreshing Your Color
Tips for Color Maintenance
To prolong the vibrancy of your newly colored hair, follow these tips for color maintenance:
- Use color-safe shampoos and conditioners specifically formulated for dyed hair.
- Minimize exposure to sunlight, chlorine, and saltwater, as these can cause fading.
- Avoid excessive heat styling, as high temperatures can strip the color and lead to dryness.
- Schedule regular touch-up sessions to address any visible root growth.
How to Refresh Your Color Between Dyeing Sessions
To keep your hair color looking fresh between dyeing sessions, consider these options:
- Use color-depositing shampoos and conditioners to revive the color and add vibrancy.
- Apply semi-permanent hair dyes in similar shades to refresh the color.
- Opt for temporary color sprays or hair chalks for a temporary change without long-term commitment.
- Consult with a professional stylist for color glossing or glazing treatments that enhance shine and refresh the color.
Conclusion
Congratulations! You’ve now become adept at dyeing your hair at home by yourself. By understanding the basics, gathering the necessary tools, and following the step-by-step guide, you can confidently embark on your hair dyeing journey.
Remember to troubleshoot any issues that may arise, take precautions to avoid mistakes, and maintain your color with proper care. With your newfound skills and creativity, you can unlock endless possibilities for expressing your personal style through vibrant and exciting hair colors.
Now, it’s time to embrace your inner stylist and make a statement with your DIY hair color transformations. Enjoy the process, experiment fearlessly, and let your hair become a canvas for self-expression. Happy dyeing!
FAQs
Here are five common questions and their answers about dyeing your hair at home by yourself:
Q: How do I choose the right hair dye color for my desired outcome?
A: To choose the right hair dye color, consider factors such as your skin tone, natural hair color, and personal preferences. Research color charts, consult with professionals if needed, and perform a strand test to preview the outcome before applying the dye to your entire head.
Q: How can I prevent the hair dye from staining my skin?
A: To prevent hair dye stains on your skin, apply a thin layer of petroleum jelly or barrier cream along your hairline, forehead, ears, and neck. This creates a protective barrier that prevents the dye from coming into direct contact with your skin. Be careful not to get the barrier on your hair, as it may interfere with the dyeing process.
Q: What should I do if I want to dye my hair a lighter color?
A: If you want to dye your hair a lighter color, you may need to bleach your hair first. Bleaching helps remove the existing color from your hair, allowing the lighter shade to take hold. Follow the instructions provided with the hair bleach product carefully, and consider consulting with a professional if you’re unsure about the bleaching process.
Q: How do I ensure even color distribution when applying the dye?
A: To ensure even color distribution, start by dividing your hair into sections using clips. Apply the dye from the roots and work your way to the ends, making sure each section is thoroughly coated. Use a tinting brush or applicator bottle for precise application, and massage the dye into your hair gently to ensure maximum coverage.
Q: How long should I leave the hair dye on for optimal results?
A: The processing time for hair dye varies depending on the brand and the desired color intensity. Refer to the instructions provided with the hair dye product to determine the recommended processing time. Use a timer to keep track and avoid leaving the dye on for too long, as this may result in over-processing or damage to your hair.

